
Help / Product guides / Purchasing / Purchases
Purchases
Create a purchase and send it to the supplier.
Last updated
Create a purchase
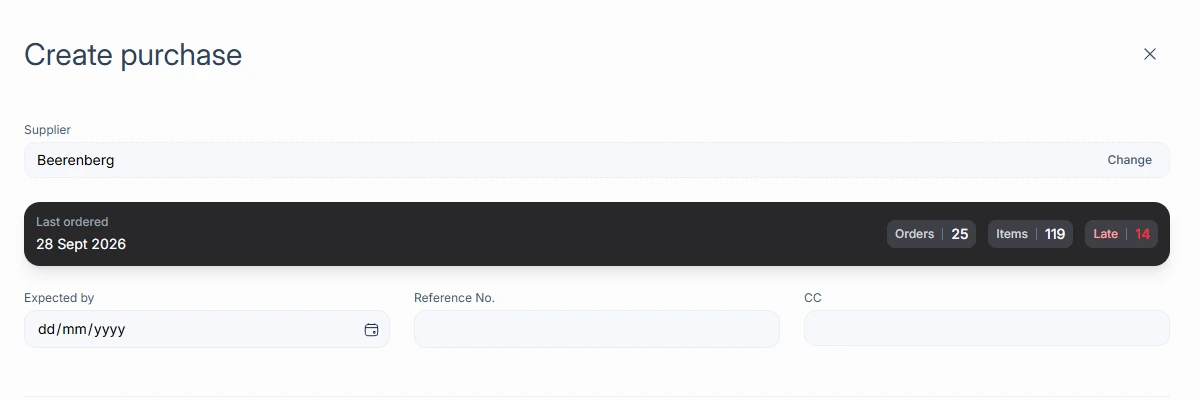
Open Purchases in the sidebar and choose Create purchase.
- Choose the Supplier. Only products linked to that supplier are listed, unless you turn on Show unallocated products.
- Add products. For each line set the Unit type, Unit size, and Quantity. The cost fills in from the product’s supplier cost, and you can change it.
- Enter the Expected by date, and optionally a Reference No., CC, a Message (printed on the purchase order), and internal Notes.
- Save. If you added products not yet linked to the supplier, Zami asks whether to allocate them.
Send it to the supplier
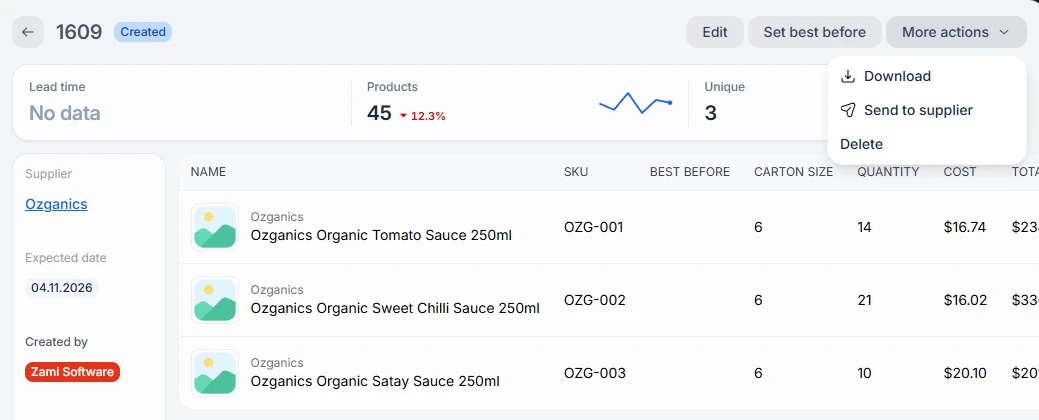
Open the purchase and choose Send to supplier, or select several on the Purchases list and send them together. You can also download the purchase order as a PDF.
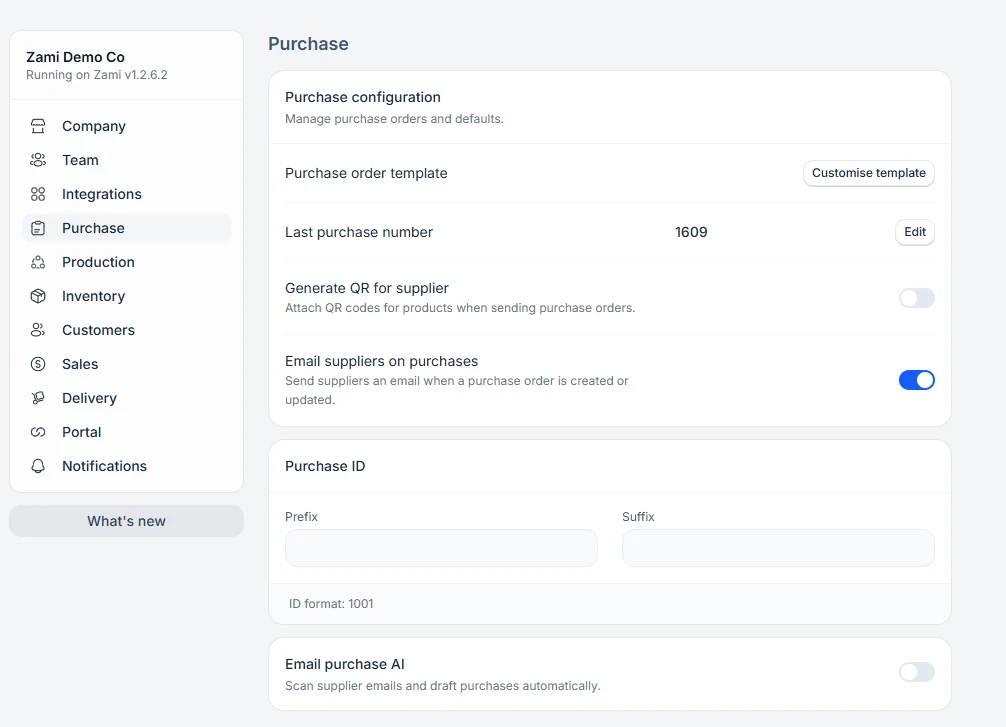
With Email suppliers on purchases turned on, on the Purchase tab in Settings, suppliers are emailed automatically when a purchase is created or updated.
Draft purchases from email
With Email purchase AI turned on, on the Purchase tab in Settings, and a purchase inbox connected, Zami reads supplier emails and drafts purchases for you. Open a draft, check it, and choose Confirm. When an email changes an existing purchase, Zami shows Review AI update, and you choose Accept update or Reject.
Edit or delete
A purchase can be edited or deleted while it is Created or Draft. The Purchases list shows ID, Synced, Date, Supplier, Ref No, Expected, Delivery, and Status for each one.
QR codes for suppliers
Turn on Generate QR for supplier on the Purchase tab in Settings to attach product QR codes when a purchase order is sent. When staff pick a sale in the delivery app, scanning that QR code picks the stock from that purchase.